

Start here
New to Auddomate? These three pages take you from an empty browser tab to a finished image in about ten minutes.
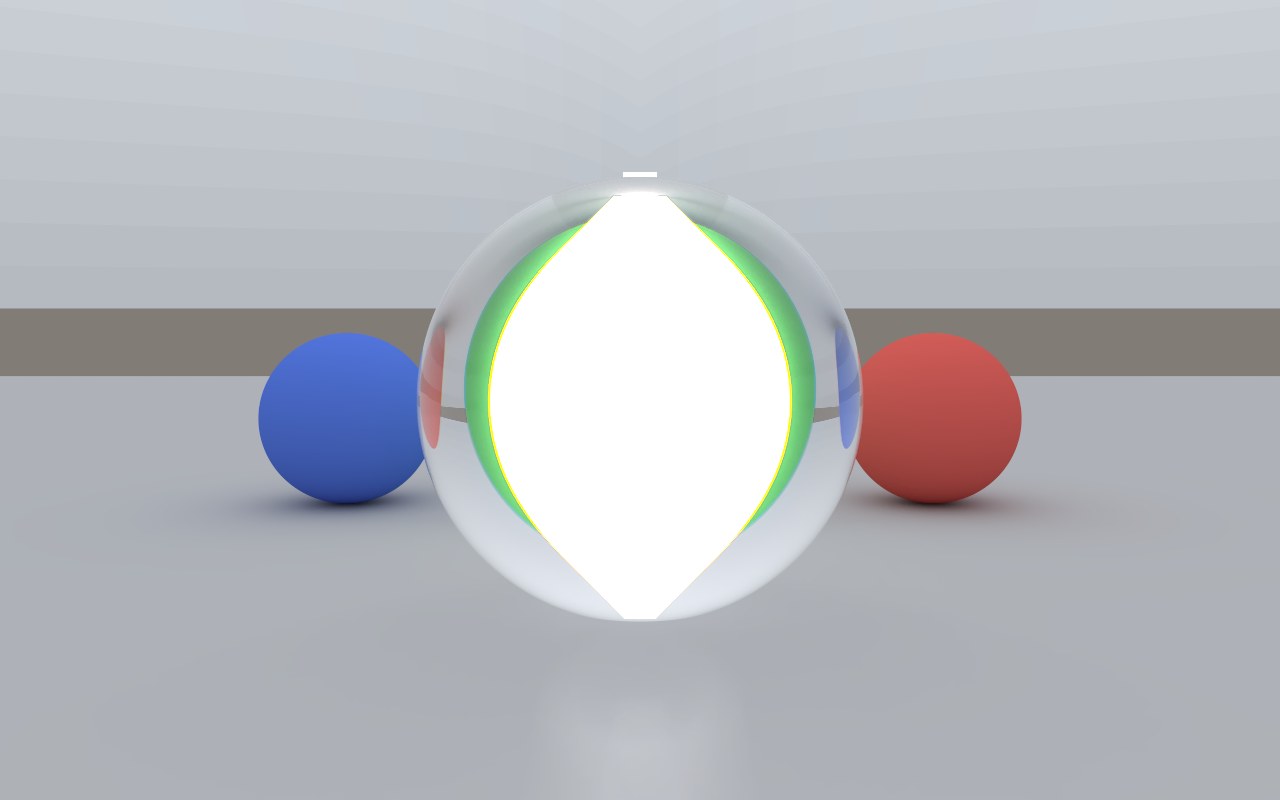
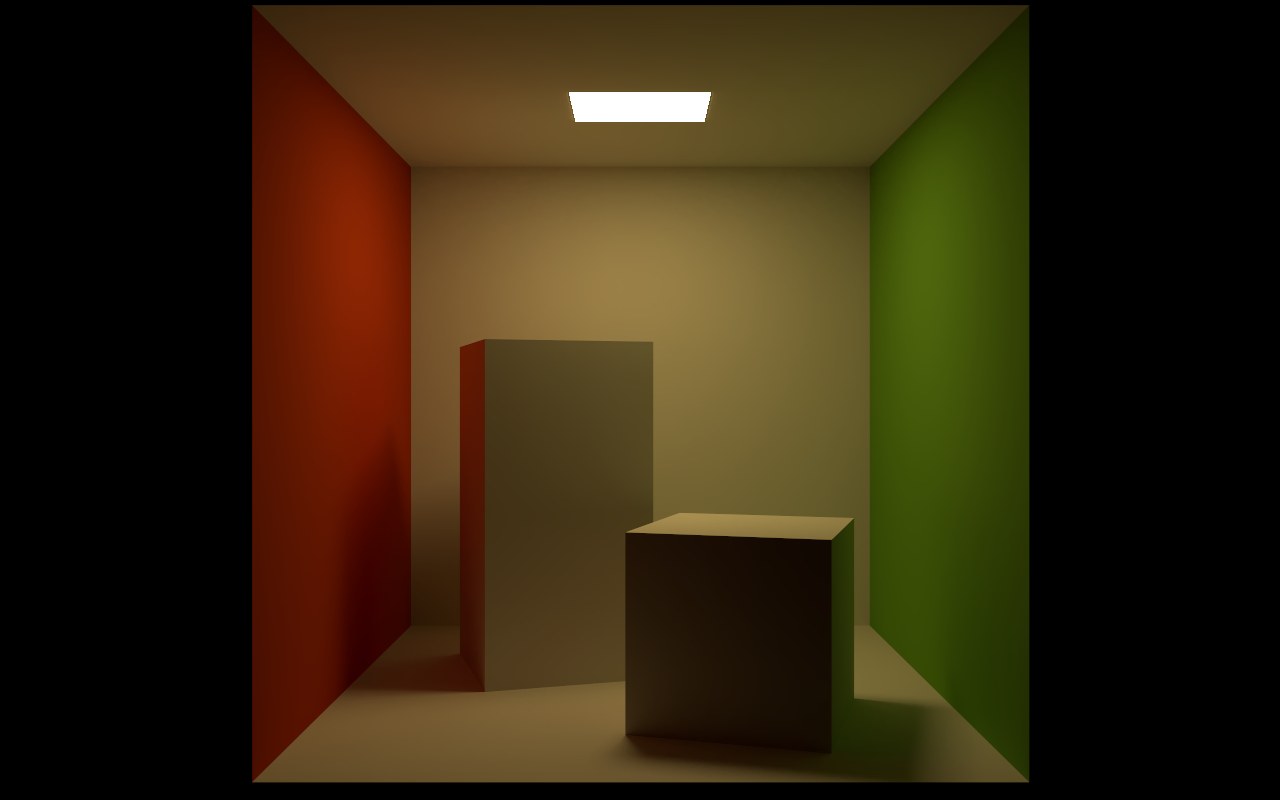
1Your first renderOpen the studio, watch the light build up and save a picture.2Bring in your modelDrop in a file from Cinema 4D, Blender or any 3D app.3Light it beautifullyChoose a studio, a sky or a photo of a real place to light your scene.
Explore the studio
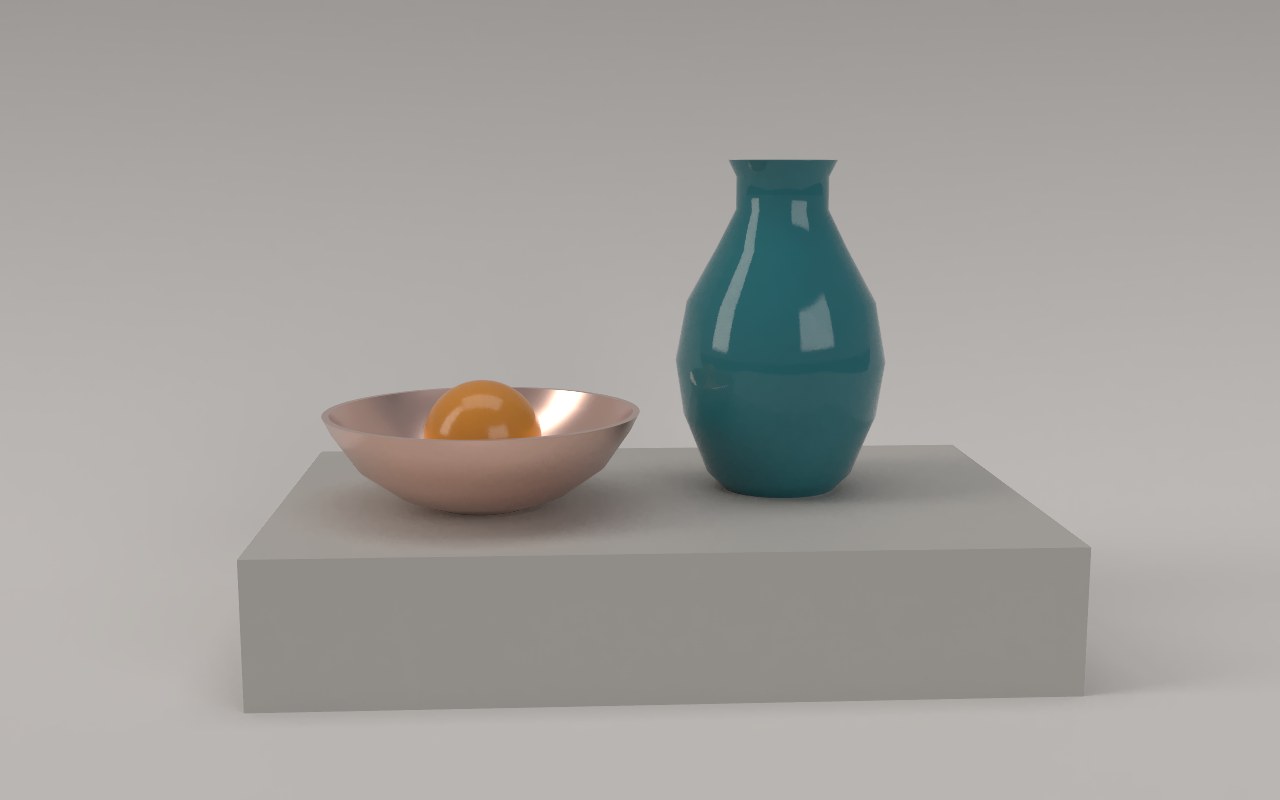 A tour of the studioThe scene tree, the properties and the timeline, laid out like your 3D app.
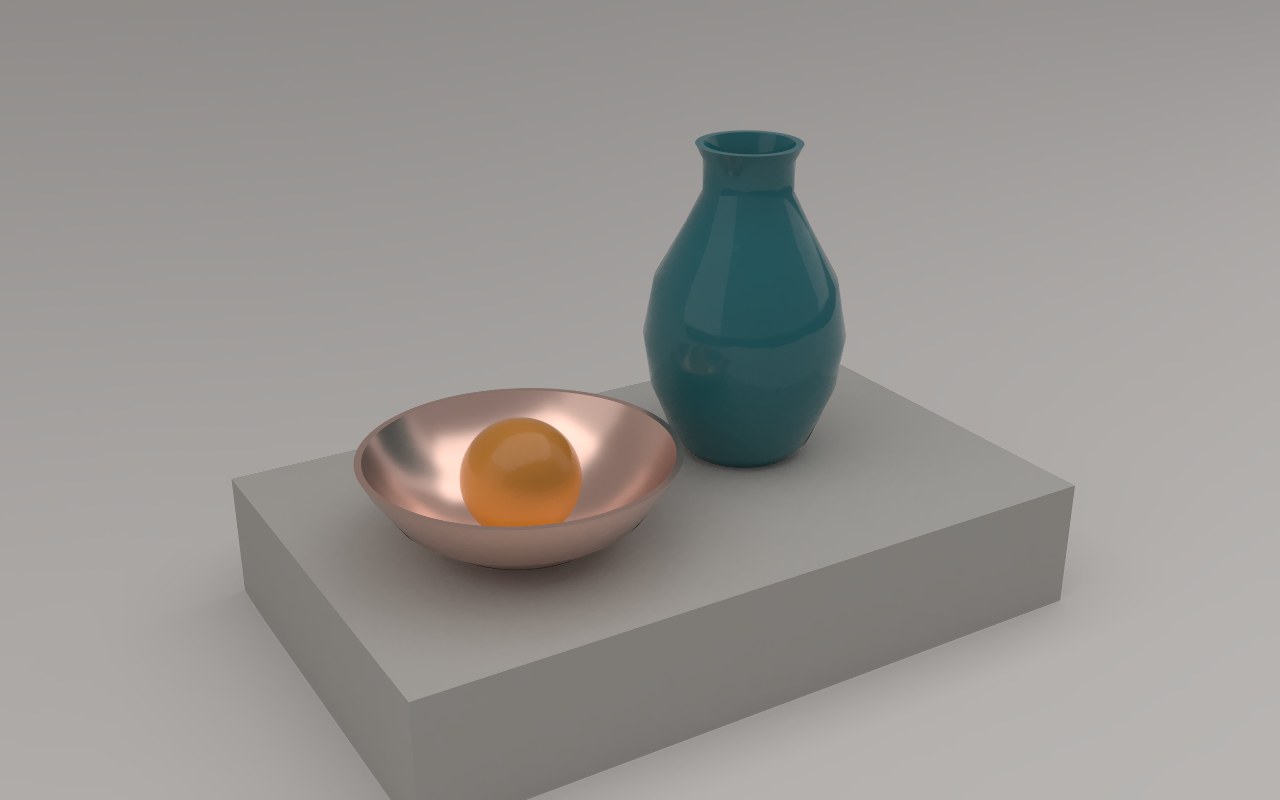 Moving aroundTurn, slide and zoom around your scene, and frame the perfect shot.
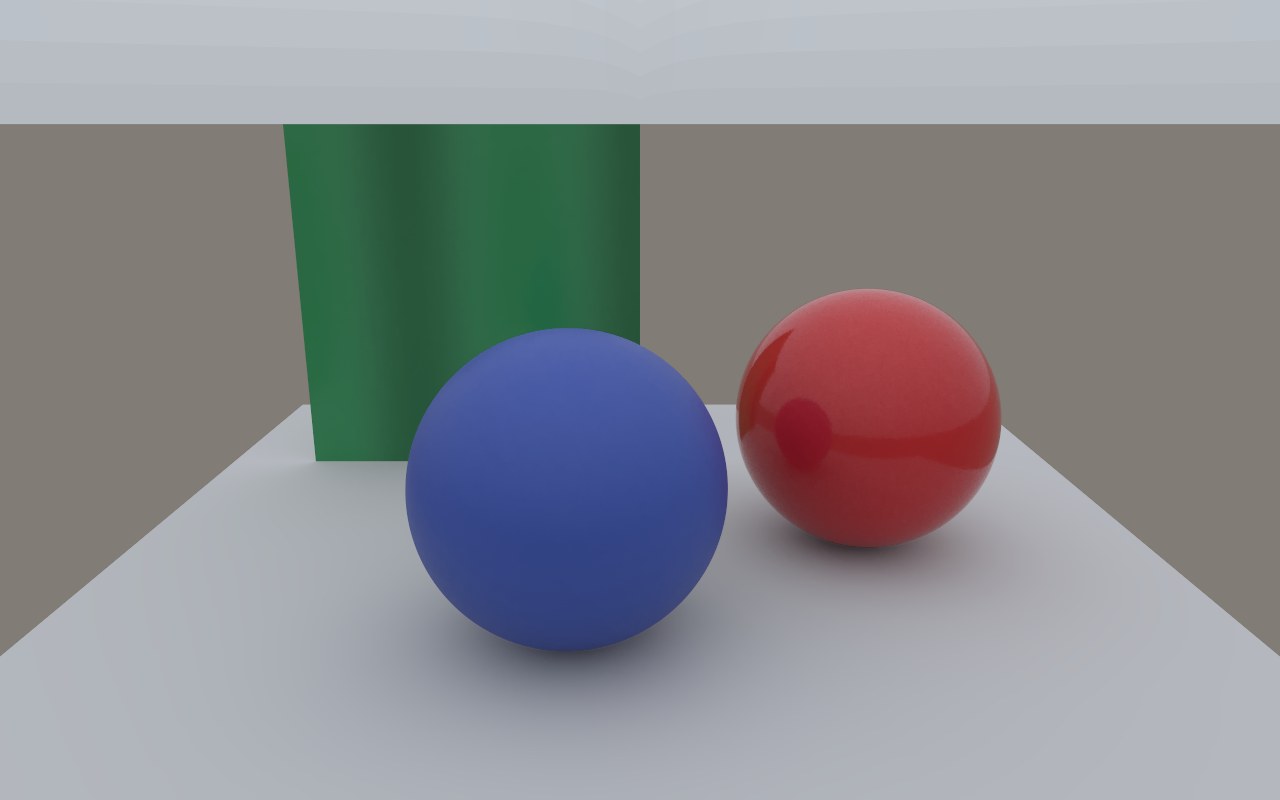 MaterialsHow glass, metal, plastic and paint come across from your file.
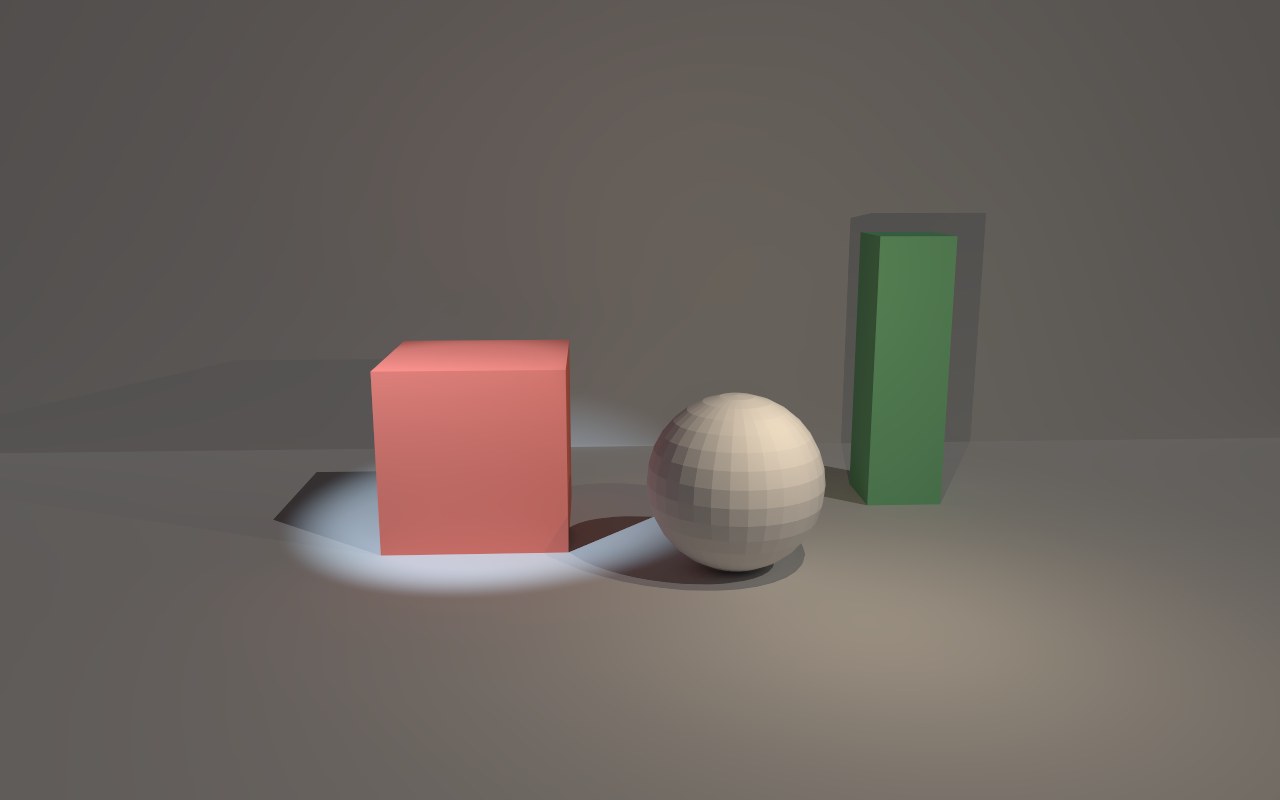 Lights from your filePoint lights, spotlights and suns you placed in your 3D app.
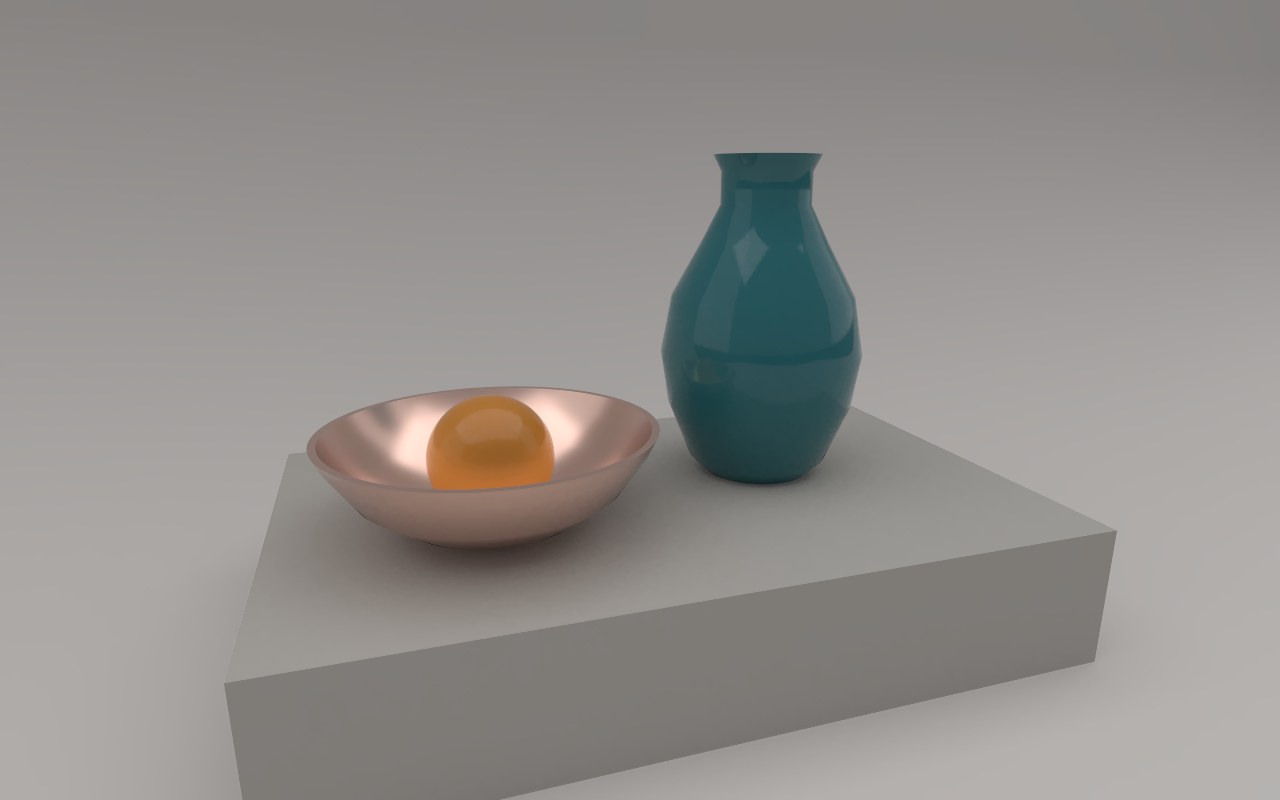 Camera and lensField of view, views, turn and tilt.
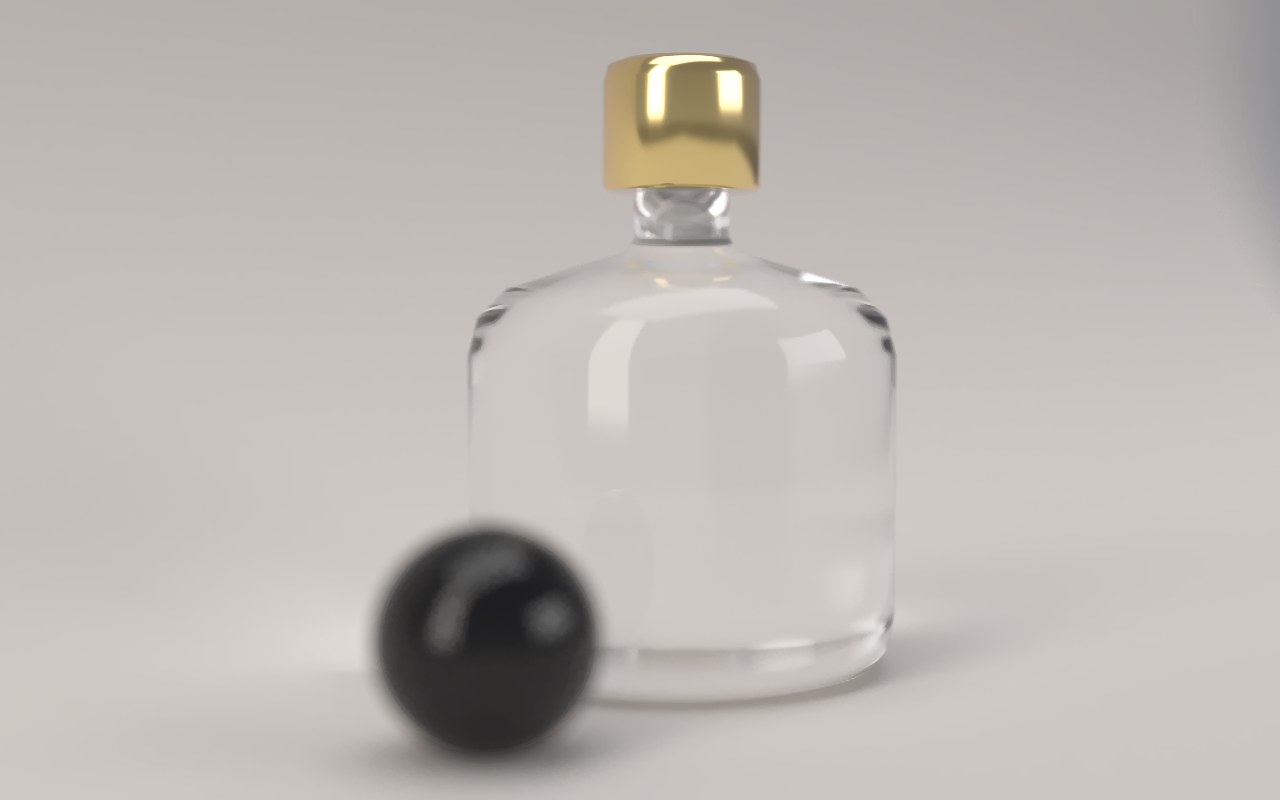 Depth of fieldSoft backgrounds and sharp focus, like a real lens.
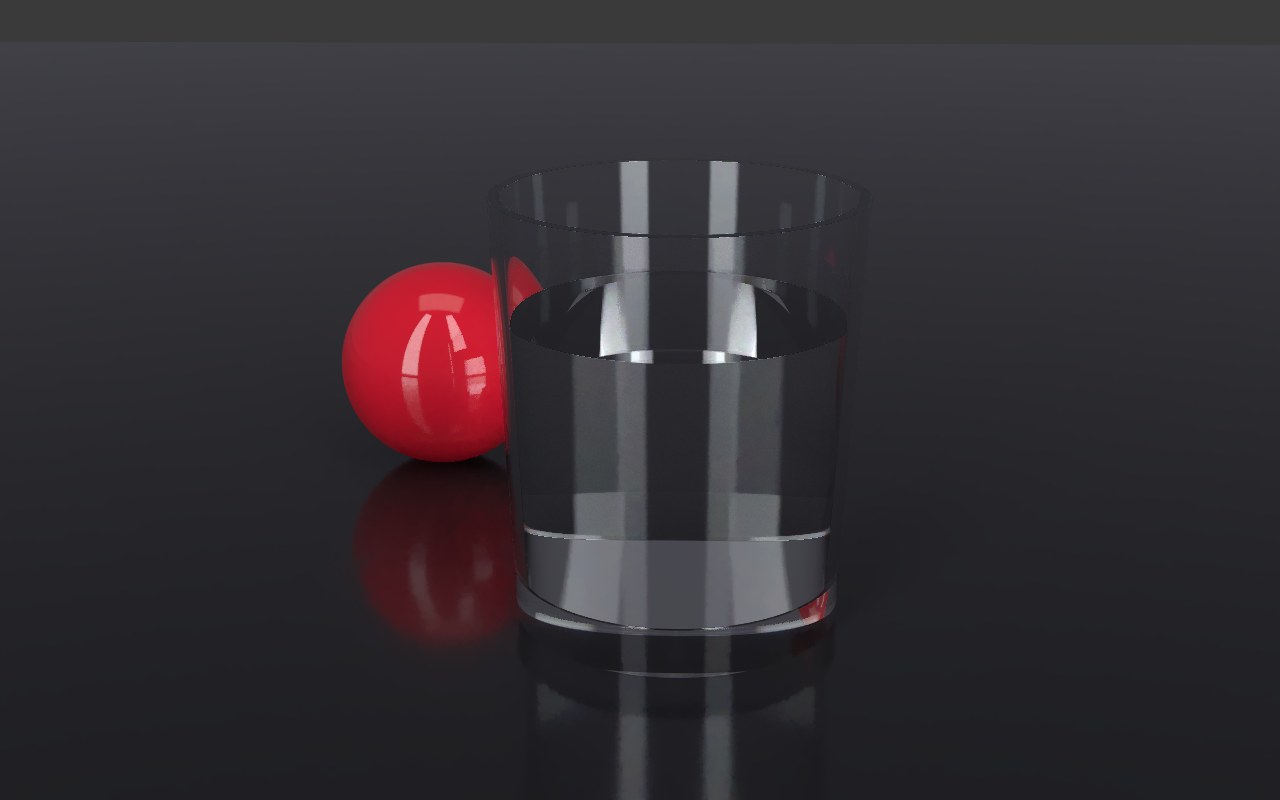 Quality and noiseSamples, bounces and the denoiser, explained simply.
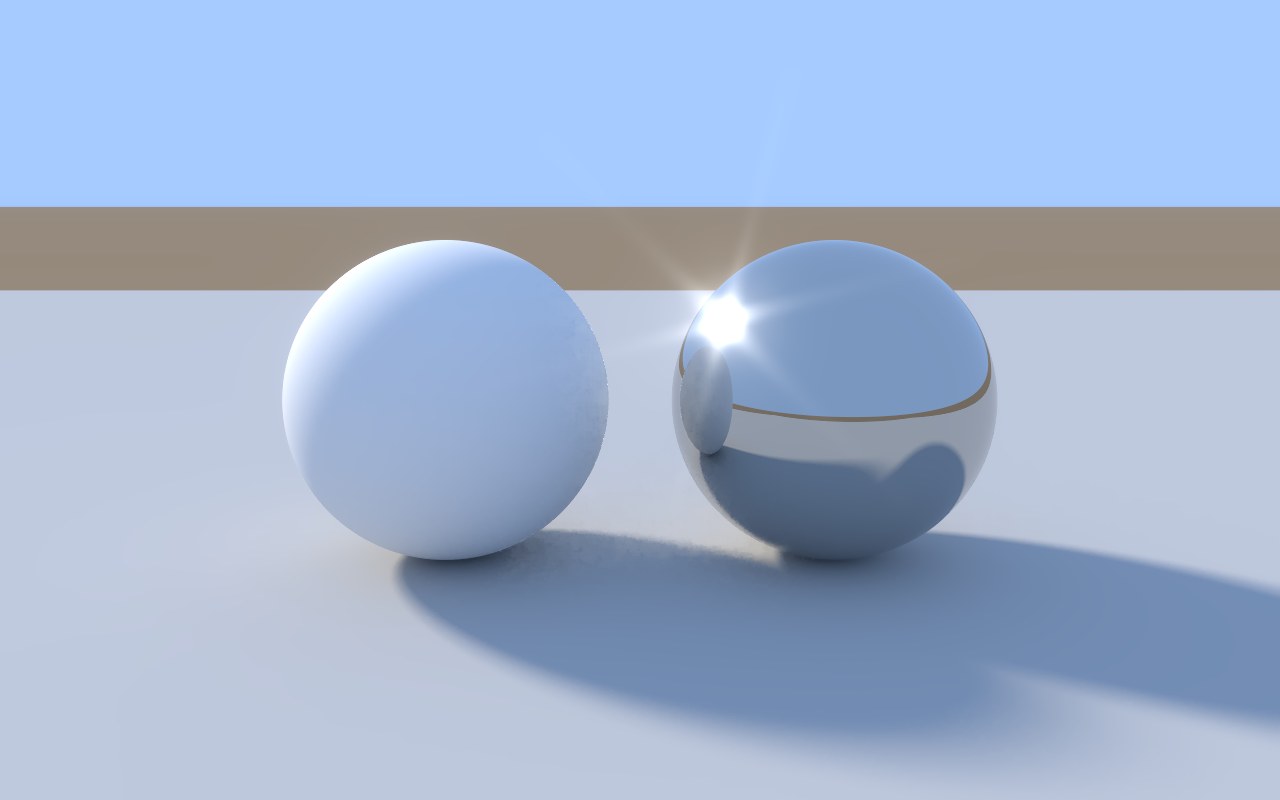 Glow and glareThe finishing touches of a real camera.
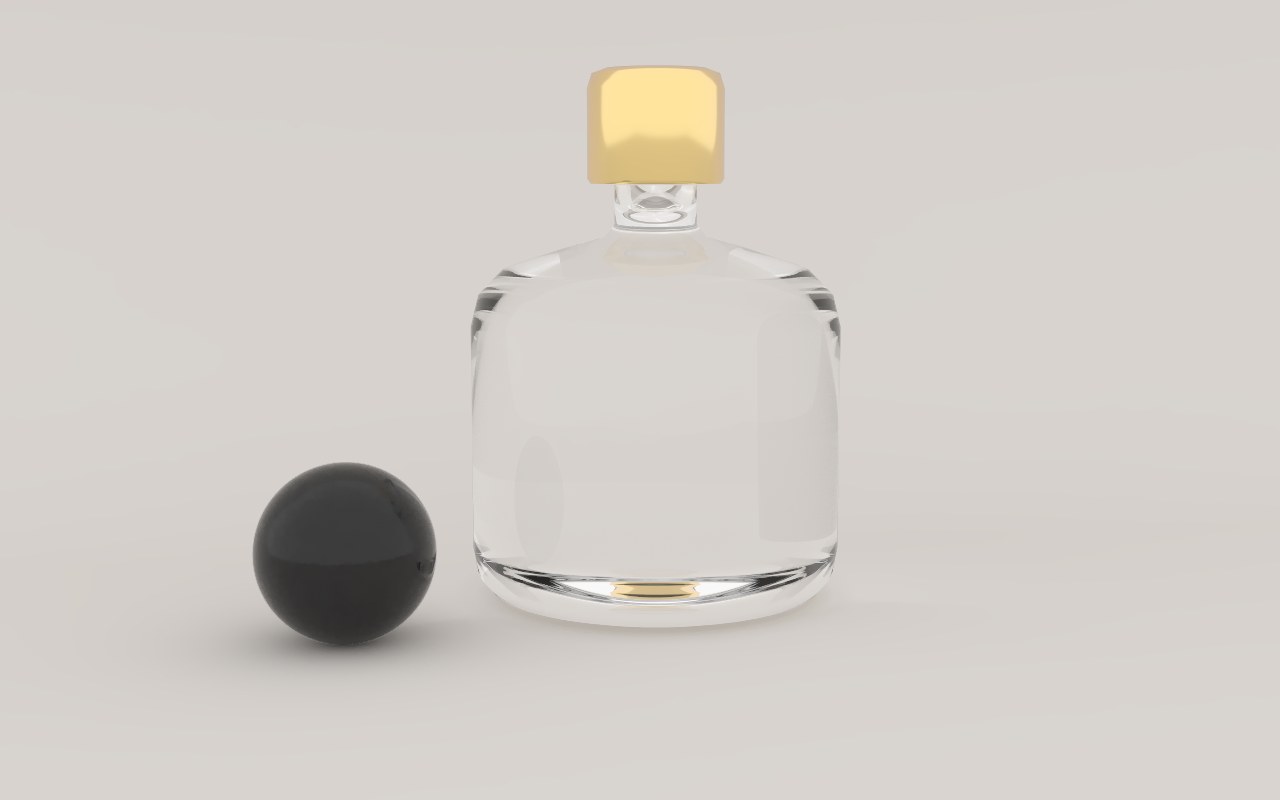 Saving your rendersEvery format, transparent backgrounds and your render history.
 AnimationPlay back your animation or spin a turntable, then render a video.
Understand what's going on
Auddomate follows light the way it really behaves, wavelength by wavelength, and checks itself against the reference renderer that film studios and researchers trust. You don't need to know any of this to make beautiful renders, but it helps to know why they look the way they do.